
Hostwinds Tutorials
Search results for:
Table of Contents
How to Manage Updates on Windows Server 2016
Tags: Windows
This article shows you how to take more control over how Windows processes updates, including having them set to download and install automatically, having the updates download, or having the updates only run when manually selected. This can be very important as updates can interrupt certain processes or require a reboot, which can be inconvenient.
It is possible to use Powershell or Command prompt to run these commands. If you use Command Prompt, right-click to "Run as administrator" to enable the privileges you will need.
Configuring Updates for Windows Server 2016
Before continuing with this guide, please connect to your server over RDP. If you are unfamiliar with how to do that, please see this article for connecting to a server using RDP from Windows.
Also, it is possible to adjust Windows update settings from the graphical user interface, as demonstrated by this article.
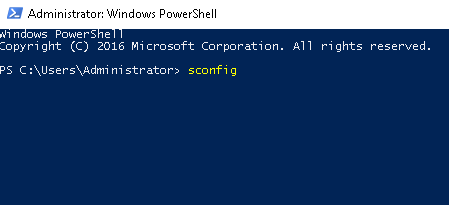
Step One: Open Powershell, or an elevated Command Prompt (right-clicking to run as administrator)
Step Two: Type sconfig, then press Enter to confirm
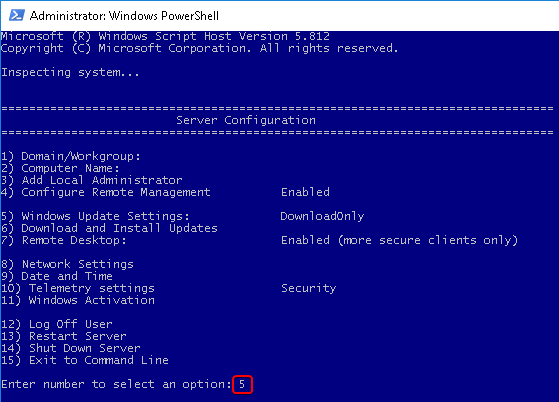
Step Three: Type 5 to select Option 5, Windows Update Settings, then press Enter to confirm
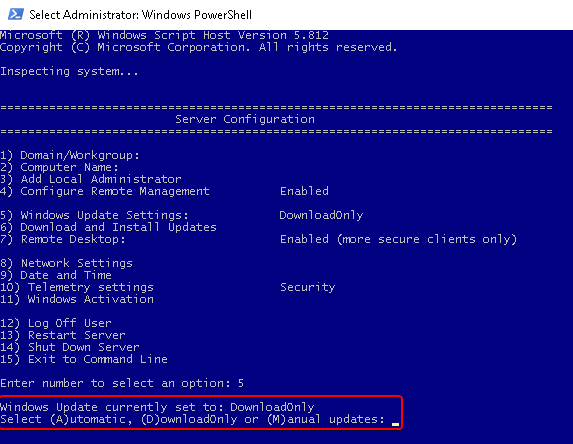
Step Four: Select M for Manual Updates only, pressing Enter to confirm. Alternatively, select A to automatically download and install updates, or select D to download updates.
Results for Each Selection
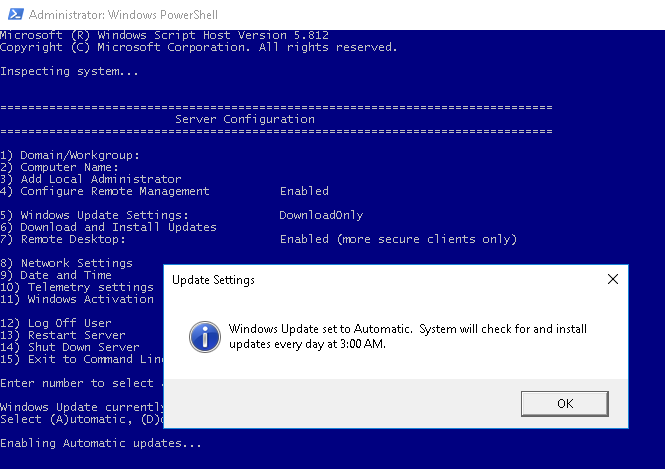
After selecting A, for Automatic Updates, you should see a similar notification to this:
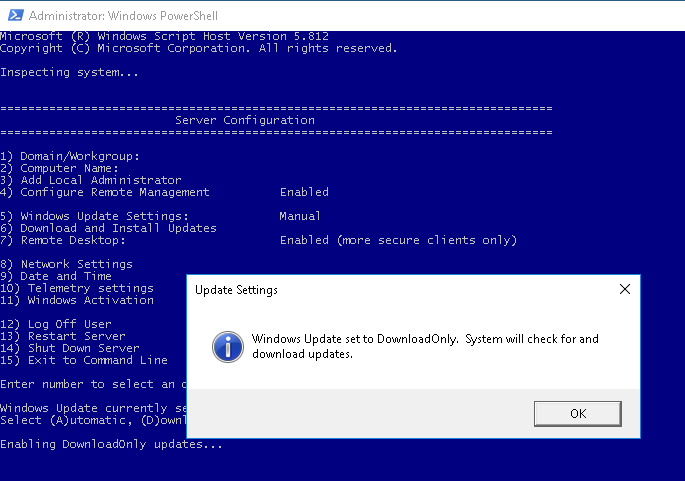
After selecting D for Download Updates, you should see a similar notification to this:
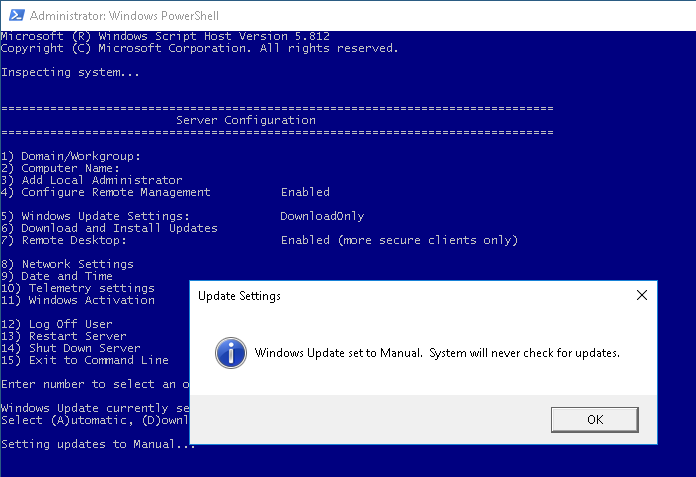
After selecting M, for Manual Updates, you should see a similar notification to this:
Written by Hostwinds Team / November 16, 2018