
Hostwinds Tutorials
Search results for:
Table of Contents
How to Run Public Deno Server (Linux Cloud VPS)

Deno allows you to run Javascript in a fast, secure environment. Deno is web-oriented and built for modern JS. Similar to Node.js, Deno allows for seamless backend integration with front-end Javascript code. By default, Deno's server is only locally available. To publicly expose the server interface, Nginx can be used as a proxy. To run this, you will need a Red Hat or Debian-based Linux VPS.
Step #1: Set the Deno installation directory
export DENO_INSTALL='/usr'
Step #2: Run Deno's official installation script
sudo curl -fsSL https://deno.land/x/install/install.sh | sh
Step #3: Verify Deno installation
which deno
/usr/bin/deno
Installing Deno was super easy. At this point, running a Deno script that serves content would only serve the data to localhost. We will use the webserver Nginx to make the content publicly available.
Step #4: Install Nginx
RHEL / CentOS / Amazon Linux
sudo yum install Nginx
Ubuntu / Debian
sudo apt-get install Nginx Fedora sudo dnf -y install Nginx.
Step #5: Configure Nginx to forward Deno output
For this step, you will need to edit /etc/nginx/nginx.conf to set up forwarding on port 8000. To do so, add the following code in the location block of the config file:
vi /etc/nginx/nginx.conf
proxy_pass http://localhost:8000;
proxy_http_version 1.1;
proxy_set_header Host $host;
proxy_set_header Upgrade $http_upgrade;
proxy_set_header Connection 'upgrade';
proxy_cache_bypass $http_upgrade;
Step #6: Start Nginx
RHEL / CentOS / Amazon Linux
sudo systemctl start nginx
Ubuntu / Debian
sudo systemctl start nginx
Fedora
sudo systemctl start nginx
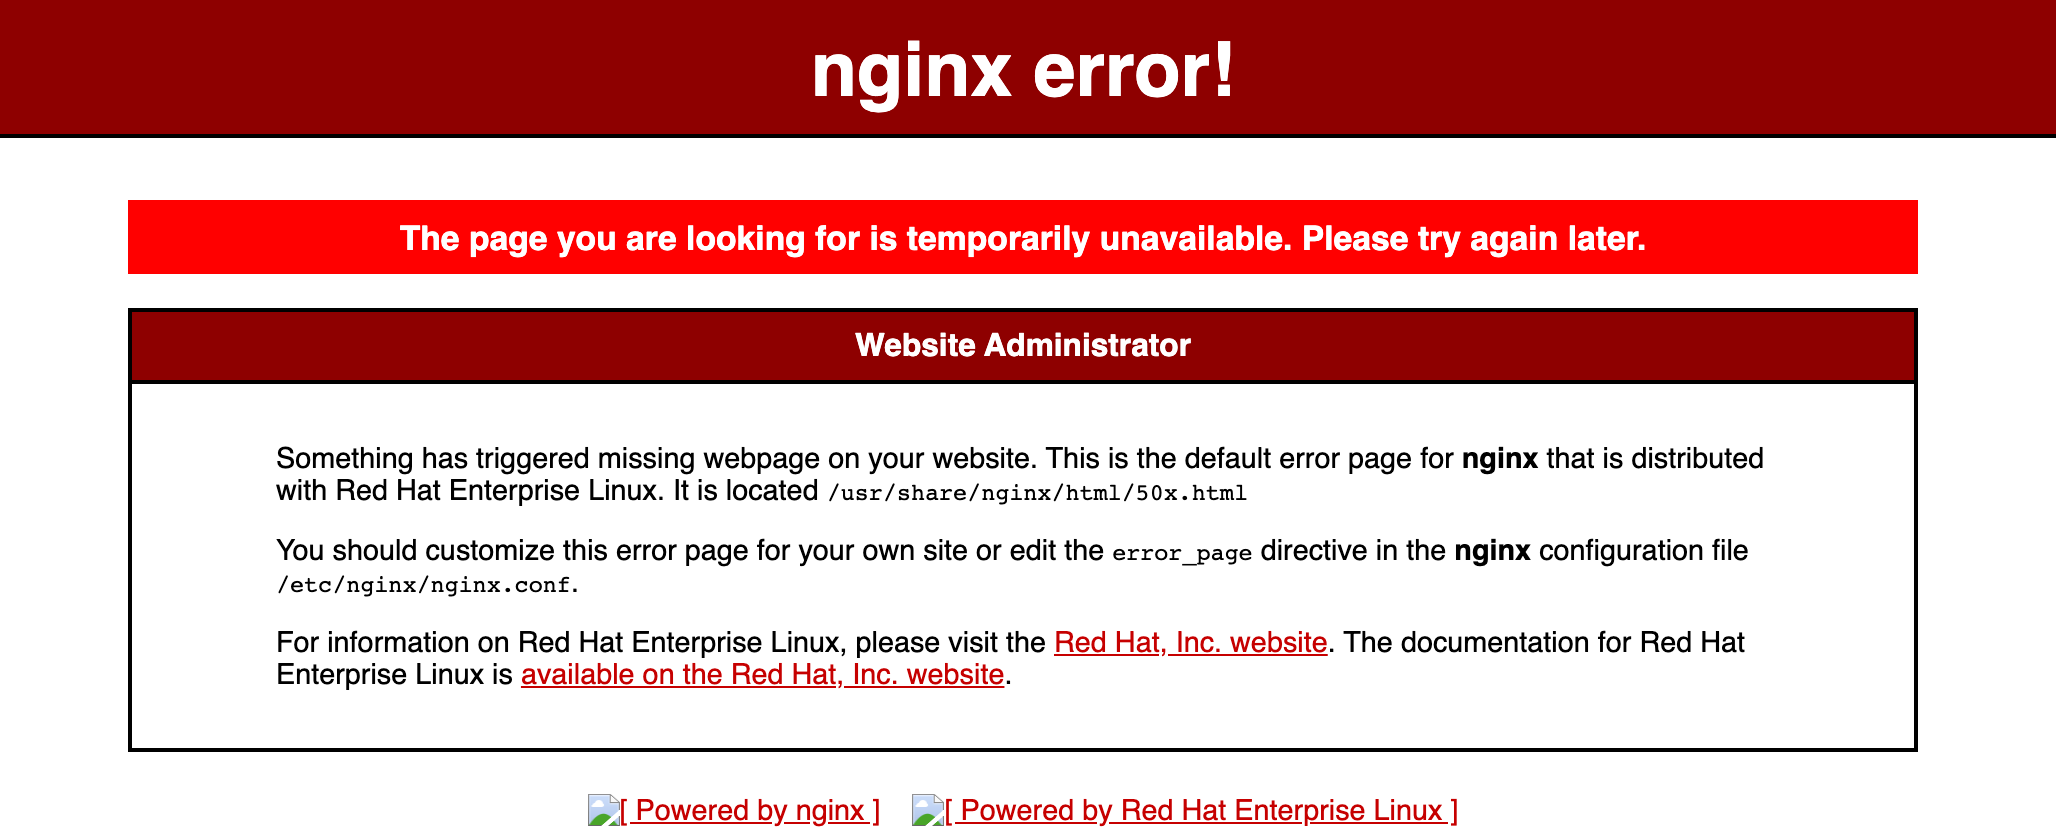
At this point, loading your server/host endpoint will return an Nginx error. nginx is expecting to forward the request to port 8000, but there is currently no process listening on port 8000
Step #7: Start Deno server
In this example, we will run a straightforward file server. The script will serve files from the current directory. Nginx is configured to forward connections to port 8000, so we need to tell the script to run on port 8000 explicitly.
deno run --allow-read --allow-net https://deno.land/std/http/file_server.ts --port=8000
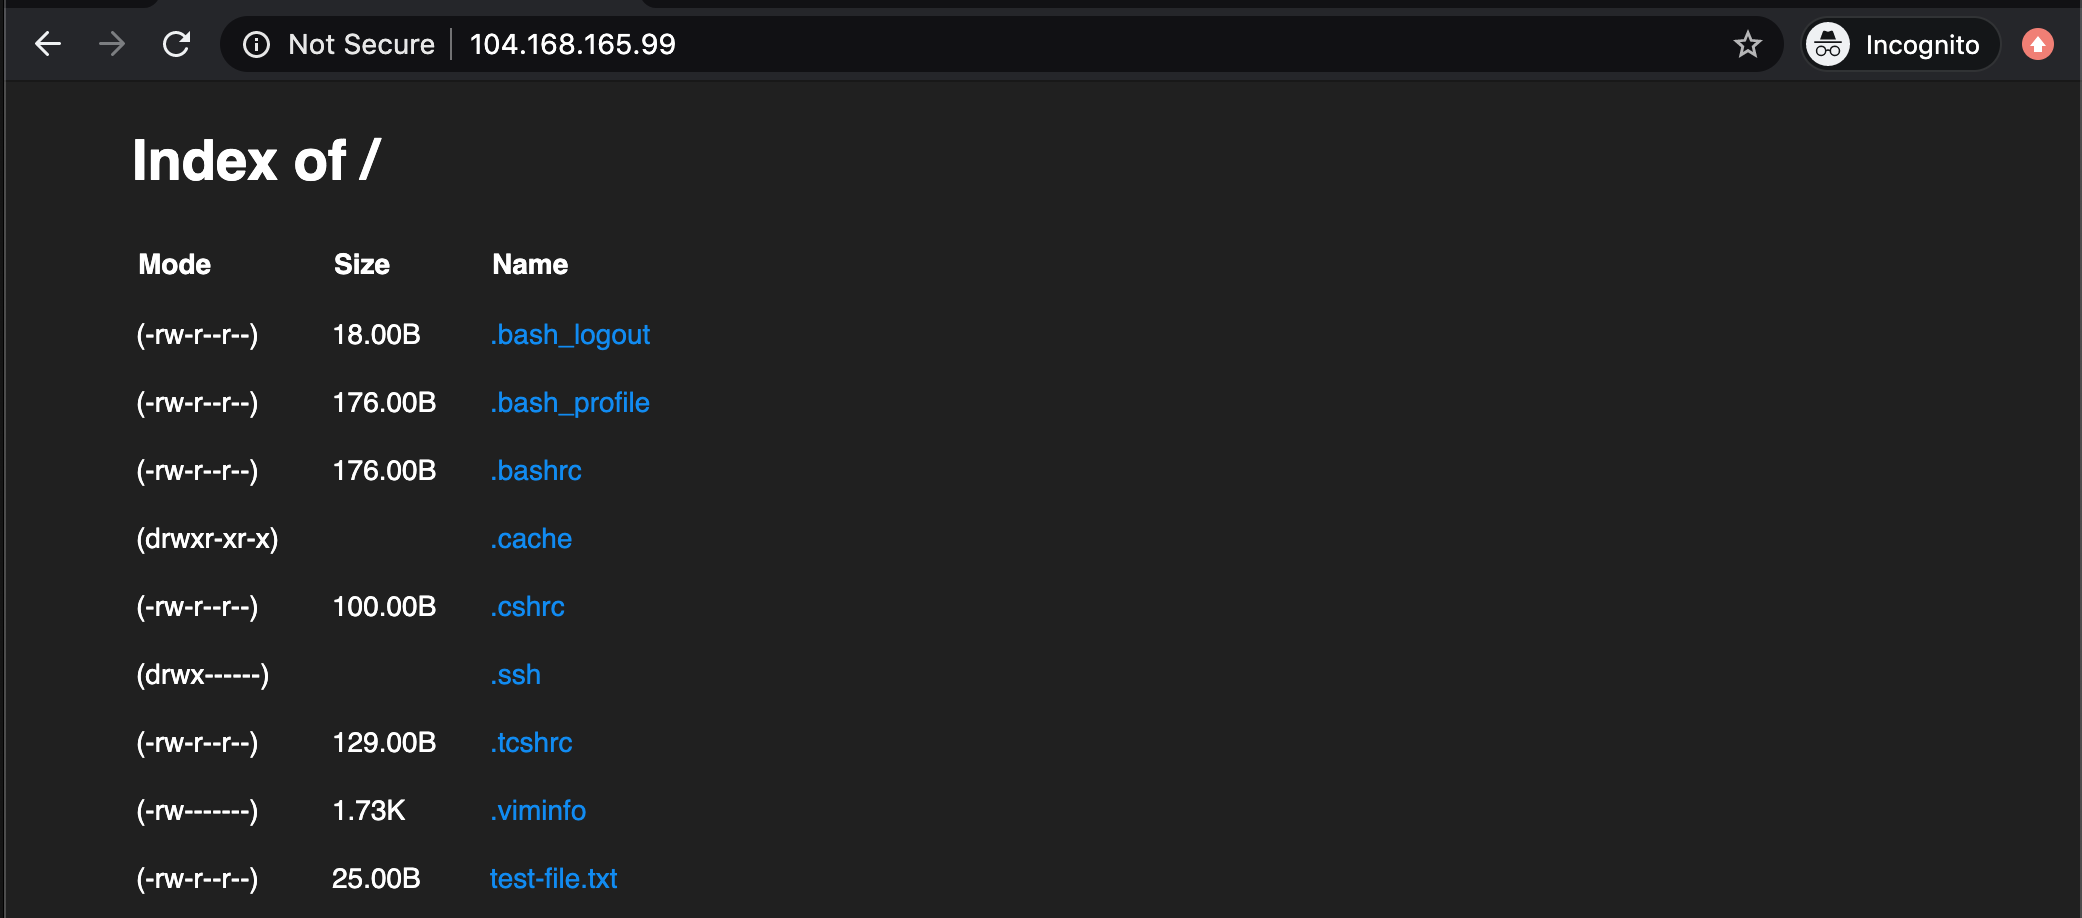

Your Deno server is now publicly available!
This executes from my local workspace, which contains a file test-file.txt.
Note: Deno is secure by default, meaning the environment is sandboxed. The command to run the example script requires the –allow-net and –allow-read argument flags to serve the content via the network.
Written by Hostwinds Team / June 16, 2020