
Hostwinds Tutorials
Search results for:
Table of Contents
How To Setup AutoDJ On SHOUTcast Hosting
With your SHOUTcast station, you may want it to automatically play a certain playlist of music or other audio files. Luckily, with Hostwinds WHMSonic on our SHOUTcast hosting, this can be done through AutoDJ. AutoDJ takes a playlist that you have created and plays it on repeat. You can even set it up to shuffle the tracks that it plays as well. This guide will show how to get AutoDJ set up and playing on your SHOUTcast station.
How To Setup AutoDJ For The First Time
Log into your SHOUTcast Station's Control Panel
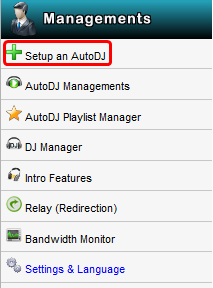
Navigate from the left menu to Managements => Setup an AutoDJ, and click on that.
After clicking on that, you will be brought to a page that will guide you through the setup of the AutoDJ. Fill out these fields how you would like, then finish by pressing the Setup. A description of what each option is can be found below.
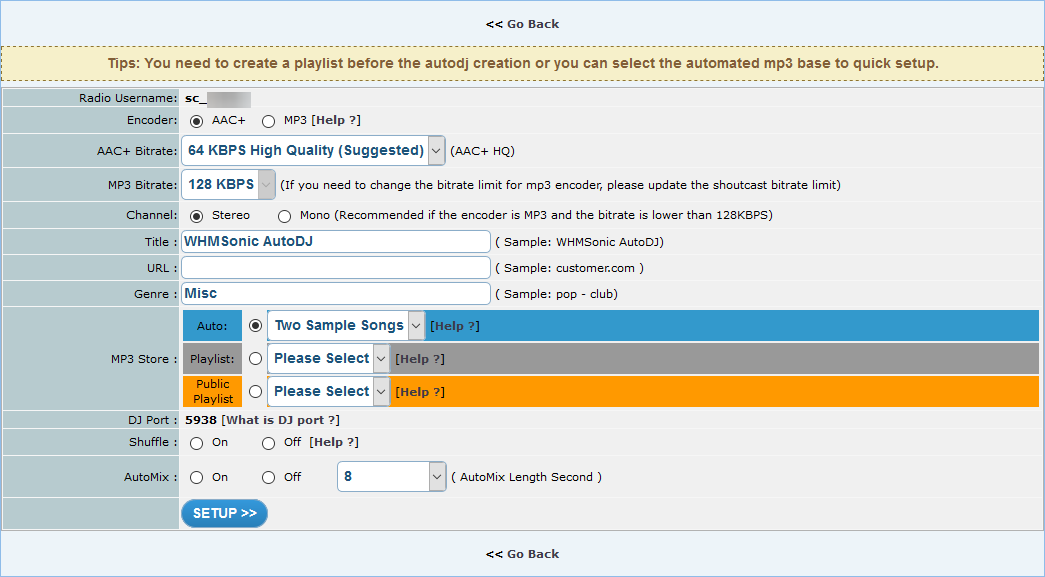
- Radio Username – This will be the username of your SHOUTcast station. This cannot be changed but is just an extra indication of the current SHOUTcast username.
- Encoder – This will be the encoder used by the server to send the Audio to your listeners. Normally this will be determined by the types of files that you are streaming. Most often, this will be MP3.
- AAC+ Bitrate – This will be the AAC Bitrate that the station uses. It is recommended to keep this set as the suggested option to improve performance and reduce latency. Note that this will only apply to AAC+ Streaming on the station.
- MP3 Bitrate – This will be the Mp3 Bitrate that the station uses. This is determined by the plan that you have purchased with Hostwinds. This will only affect the MP3 streaming on the station.
- Channel – The channel that will be used for Audio output. The default of Stereo should do fine.
- Title – This will be the title of your stream. If you have a podcast or a station name, you can set this here.
- URL – While not entirely necessary, you can set this to wherever you have your web player for your SHOUTcast station. Leaving this blank is also viable.
- Genre – This is where you can specify the specific genre of music that you play on your station. Again, this can be left as the default or whatever you wish.
- MP3 Store – This option determines where the AutoDJ will grab the audio files from. With Auto, it will grab a default list of songs. For Playlist, you can specify a playlist created in the control panel for the AutoDJ to use. Public Playlist currently cannot be used, as it refers to a public playlist from WHMSonic that no longer exists.
- DJ Port – This indicates the default DJ Port that can connect to the server while the AutoDJ is running.
- Shuffle – Here, you can set whether the playlist that you have playing on your AutoDJ will shuffle or not.
- _AutoMix_– This is for the crossfade of the audio files in the playlist. Determining how much overlap there will be with each song.
- Setup – Will complete the setup for your AutoDJ when this is clicked.
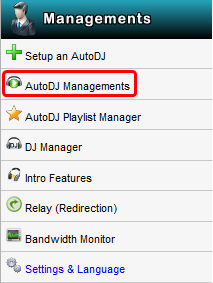
Upon finishing the setup, the AutoDJ will be created, and if a playlist were specified, it would be available for use. If it does not start automatically, this can manually be done from the Control Panel. To do this, navigate to Managements => AutoDJ Managements.
From the next page, if the AutoDJ is not listed as ON, you can click on the Start button to start up the AutoDJ. If started successfully, there will be a message to indicate that.

If you should have any questions or would like assistance, please contact us through Live Chat or by submitting a ticket with our Technical Support team.
Written by Hostwinds Team / May 29, 2018