
Hostwinds Tutorials
Search results for:
Table of Contents
Volume Management – Adding to Windows Server
Tags: Windows
Once you have purchased a new Volume and attached it to your VPS in the Cloud Control Volume Management Area, your server should now recognize the new drive that has been added. The exception to this would be in a Windows server, which needs to have the drive created and attached in the Operating System as well so that Windows will recognize the drive is available for use. To add a drive to the Windows server, follow the below instructions.
How To Create And Attach A Disk Volume On A Windows Server
Step 1: Ensure that the volume has been attached to your server in the Cloud Management area. See this guide for creating or attaching volumes if you need help with doing so.
Step 2: Log in to your server via RDP or VNC and go to the Device Manager in Windows; you should now see two devices. The second one is the new one.
Step 3: Force populate the data. It should be similar to disk1
Step 4: Reboot the server
Step 5: After the server is done with rebooting, go to the Windows Partition Manager, and you should now see disk1, a blank disk.
Note disk0 is the windows boot drive. Do not format it.
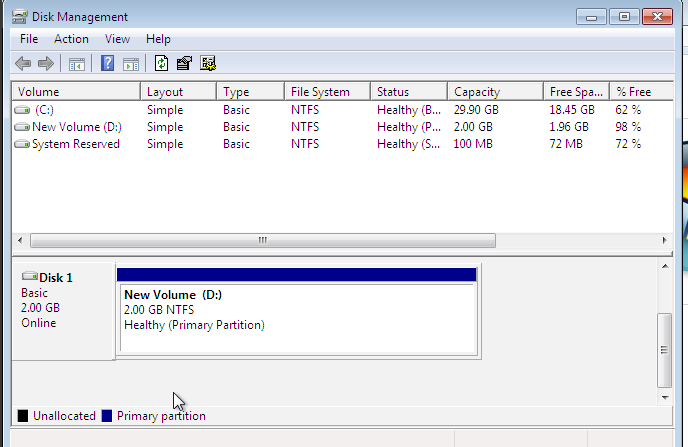
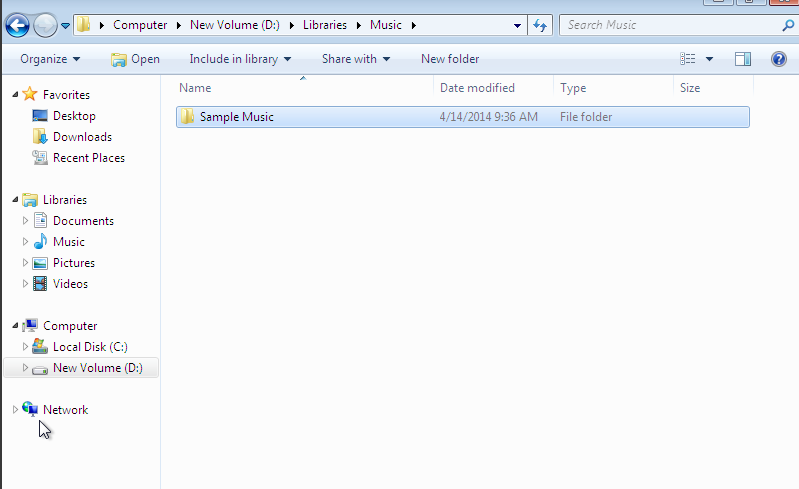
Step 6: Create a partition, and format it as a simple NTFS volume. Map it to an unused letter like D. You should now be able to see the mounted volume in your File Explorer using the letter chosen as a New Volume.
Written by Michael Brower / August 25, 2017